| Table of Contents |
|---|
...
GetPixit Pixtel supports various image operations that can be performed on screenshots or imported pictures. Most important image operations covering 80% of image operation use cases are provided in the application. In most of the cases, there is no need for expensive image editing software for handling image operations. Most The most important image operations Crop and Copy Image Area can be done from the top toolbar. Other than these two, all other image operations can be performed from Image toolbox which can be viewed by clicking on the Image toggle-button on the bottom right-hand side. In the following, Crop and Copy Image Area operations are explained followed by Image toolbox operations.
...
The image can be cropped using the Crop icon button,  , in the top toolbar. This enables cursor to change to Crop cursor. Using the cursor, an area can be selected and by clicking inside the area, image is cropped to selected rectangular size. Crop operation can be canceled by clicking outside the area or pressing escape or right-clicking and closing the tool. See the following example:
...
This is another important image operation that is used very frequently. This operation helps to select an area in the image and copy that area to the clipboard with or without borderborders. Default border settings are used that can be set through the image toolbox discussed later. In addition, Text can be extracted from the selected rectangular area and also fill the rectangular area with a dominant color in the rectangle, erasing any unwanted content. See the following examples:
Copy Image Area to a Word document: Click on the Image Area Copy icon button. Cursor changes to Area Copy icon. Select a rectangular area on the screen, ex. cat face. Right-click and select Copy Region to Clipboard or use Ctrl+C for copying the area to clipboard. Paste it on the Word document. Move the rectangular area to another cat's face and repeat this process. See the word document with four copied cat faces.
...
Fill with Dominant Color: This is very helpful if there is a need to replace the content with the dominant color in the selected area. This is more or less similar to replacing with a background color. Often times, finding proper background color is difficult. Instead, finding a dominant color is relatively straightforward and easy to use. The following example demonstrates the use.
...

...

...

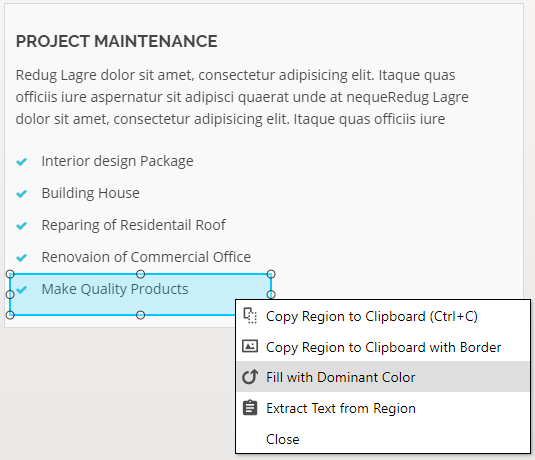
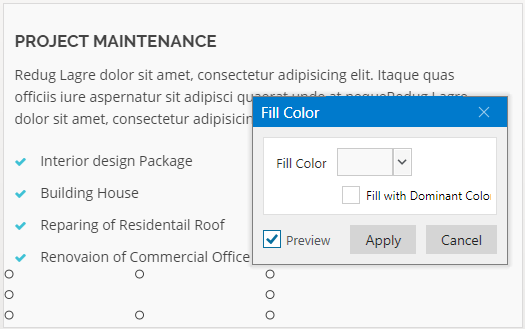
Image Operations with Toolbox
...
The default resize setting has constrained proportions, i.e., when the height is changed, the width automatically adjusts to maintain the ratio of the image. This ensures the image will not be stretched out. However, adjusting an image to a larger size can result in the image losing quality. Interpolation options help to select the quality of the image for scalingresizing.
Canvas Resize (2)
Image canvas can be resized using this operation. When selected, canvas resize dialog shows up providing various options for resizing, including resize position, width, height, and color.
...
The position helps to place the image in on the canvas. By default, the image is centered in on the canvas. Canvas Color is set to fill the canvas background color. By default, it is white.
Rotate Image (3)
Helps It helps to rotate the image in clockwise.
Flip Vertical (4)
...
|
|
|---|
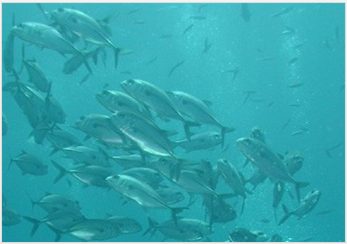

Image Auto Color Correction (8)
This operation applies the auto color correction effect on the image. The following example illustrates the before and after auto color effect.
|
|
|---|


Brightness & Contrast (9)
Image brightness and contrast can be adjusted using this control. When this operation is invoked, Brightness & Contrast dialog opens up as shown below:
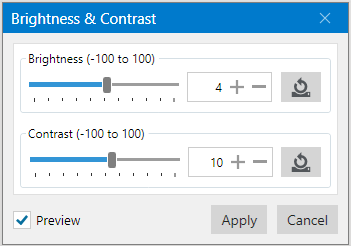
For large images, it is better to uncheck the 'Preview' checkbox to avoid excessive CPU usage. Preview helps to see the effect immediately, based on the Brightness and Contrast values. This checkbox can be enabled after setting Brightness and Contrast values to see a preview. Reset buttons will reset the corresponding values. Click the Apply button to apply the effect. The following example shows the application of this effect.
 |
|
|---|

Change Format (10)
...
bpp stands for bits for pixel. 1-bpp means the current image format is converted into black and white 1 bit per pixel format. Label in the brackets presents the type of color space that is used in the conversion.
...
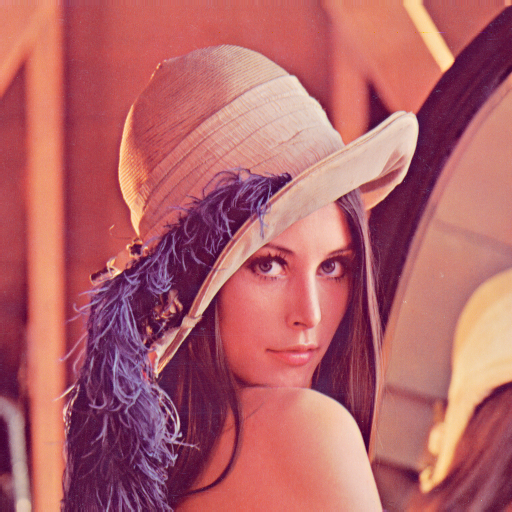
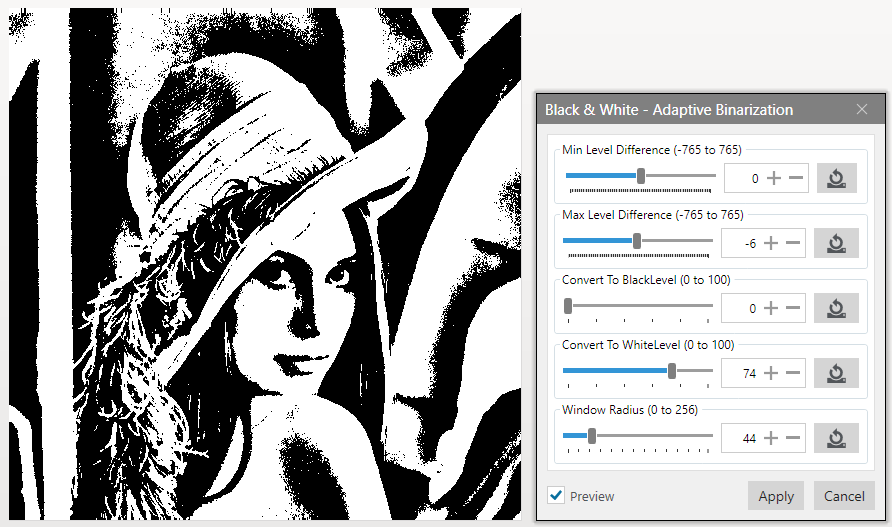
Black and White (Adaptive Binarization): An image can be converted into a black and white image using an adaptive binarization approach using various control parameters for adjusting the image binarization quality. In the following, Leena's image is converted into Black black and White white using this approach.
 |
|
|---|
Desaturate: Image The image is desaturated using this method. For Leena's image, see the desaturation applied to face region in the following. This region was selected using the Lasso tool.
...
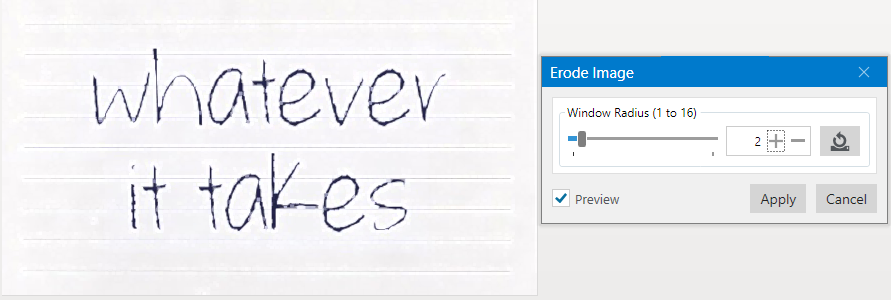
Erode: This filter helps to apply erosion filter on the image or to a section of the image. Erosion helps to diminish features. See an example below:
 |
|---|
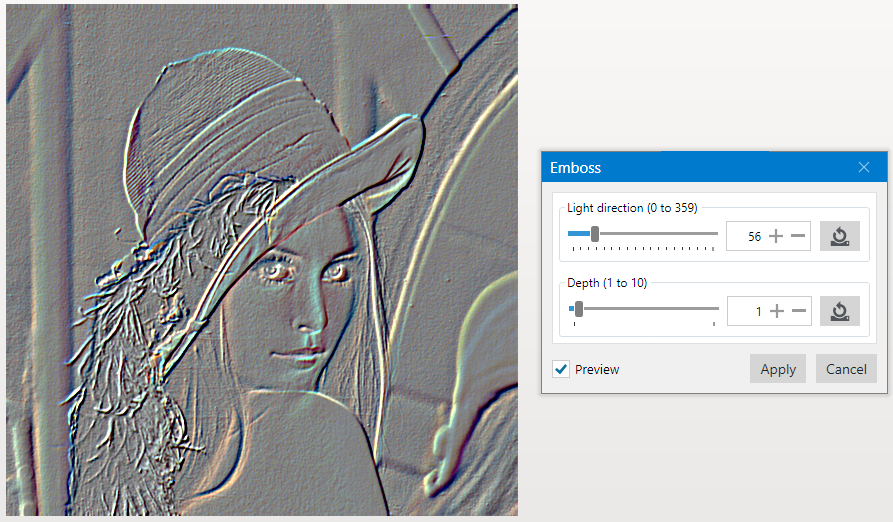
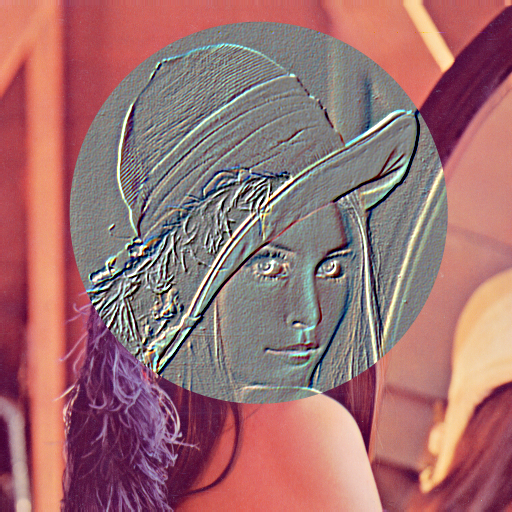
Emboss: Emboss filter can be applied to the full image or to a section of the image. Each pixel of an image is replaced either by a highlight or a shadow. Applying an embossing filter to an image often results in an image resembling a metal embossing of the original image or a section of the image. See an emboss filter applied on Leena image:
Emboss filter applied to the full image |
Emboss filter applied to a select region. |
|---|
...
Canny Edges: This filter uses the Canny Edge detection algorithm to detect edges. The image needs to be converted into a Grayscale (8-bpp) image before applying this filter. Otherwise, the application will display an error. See an the example below. First, the image is converted into Grayscale using Change Format command and then the Canny Edge filter is applied.
...
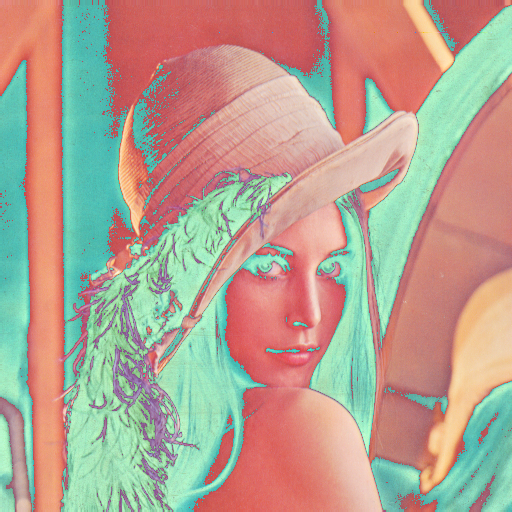
Various image effects are supported in the application. They include Bevel Edge, Drop Shadow, Oil Paint, Pixelate, Sepia, Solarize, Tile, Mosaic, and Motion Blur. By clicking on the image effect icon (13), the following pop-up window shows up with various buttons for image effects. In the following, each of the effects is outlined.
Bevel Edge: Helps to It helps to create a beveled edge around the image. This effect opens a window with various control parameters for the bevel edge. Note that this is not recommended for very large images without a graphics card. See the following bevel edge example.
...
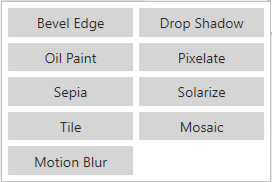
Solarize: This operation converts image with reversed in tone by converting dark areas to light and light areas to dark. See an example below:
|
|---|
Tile: This operation converts image images with glass tile overlay on top. See an example below:
...
Motion Blur: This operation creates a motion blur in the image. See an the example below. Motion blur is applied to Cheeta by selecting the object using the Lasso tool.
|
|---|
|

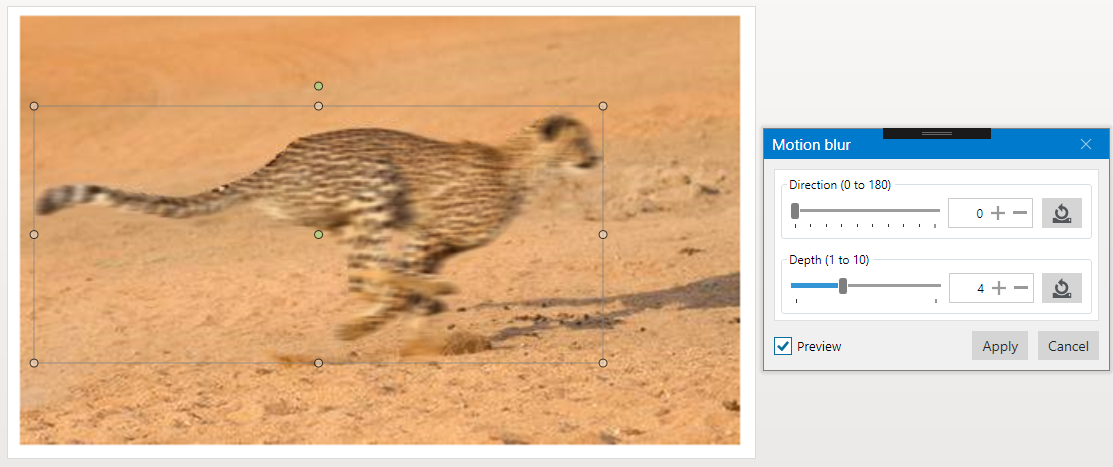
Image Formats
GetPixit Pixtel can open images in various formats. However, once they are imported, they are maintained in Png, Jpg, Tiff and Bmp formats. Any other import format other than Png, Jpg, Tiff, and Bmp, is converted into Png format internally for supporting annotations and image transformations. Decoders and encoders supported in the application are listed below with format types.
...